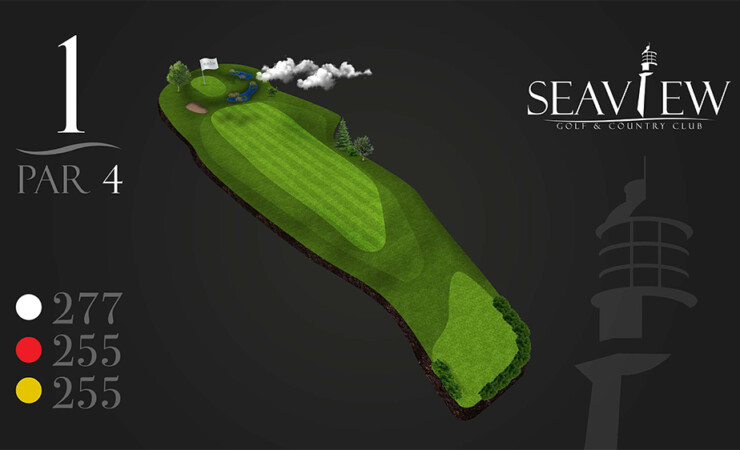
While it plays relatively short, Seaview's opening hole is slightly uphill with trouble surrounding the green. To come away with a low score, play it safe and opt for two precise shots on your approach. Yardage: 277 Handicap: 15 Yardage: 255 Handicap: 15 Yardage: 255 Handicap: 15 Download Score card
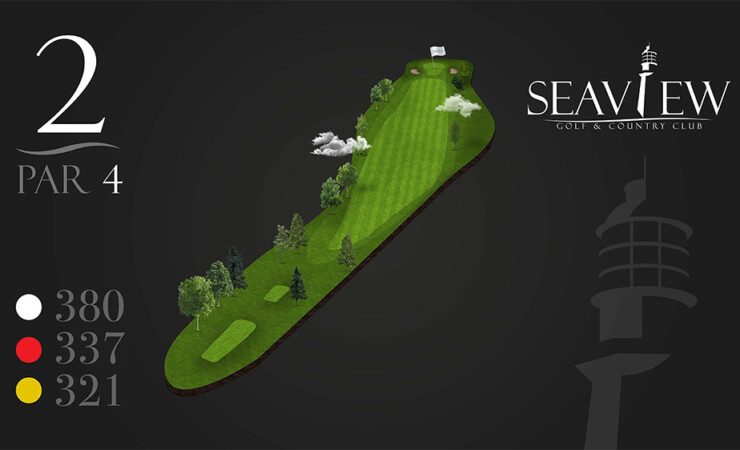
A slight dogleg left, this hole demands a good tee shot followed by a precise approach shot to hold the green, which is surrounded by two bunkers that can really get the player in trouble. Yardage: 380 Handicap: 9 Yardage: 362 Handicap: 9 Yardage: 334 Handicap: 9 Download Score Card
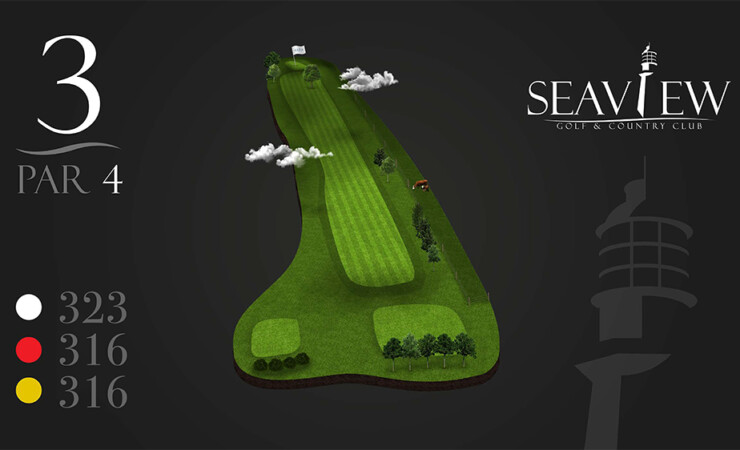
This beautiful Par 4 offers a spectacular view from its elevated tee box. The third hole has a large landing zone off the tee, but aim too far right and your shot will end up Out of Bounds. Your second shot is onto a tricky green that slopes right to left and is protected by trees. Yardage: 323 Handicap: 17…
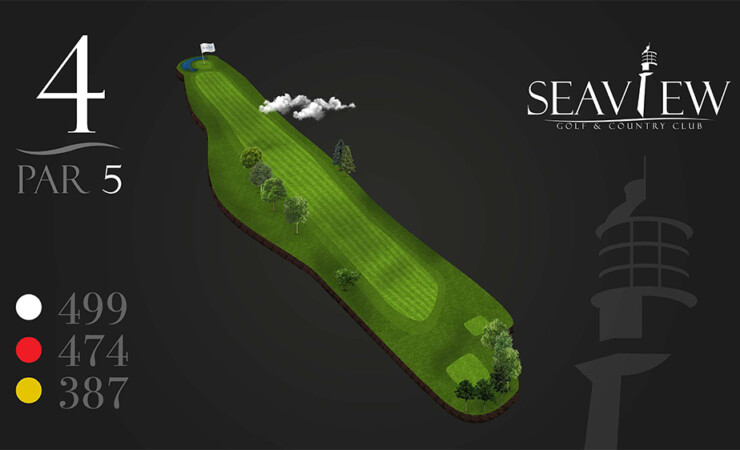
The first of three Par 5's, your drive will need to be accurate. Shooting uphill, if your shot is too far to the right your ball risks going Out of Bounds. A wood or long iron is perfect for your second shot which will put you in great shape to attack the downhill approach to the green. Beware not to…
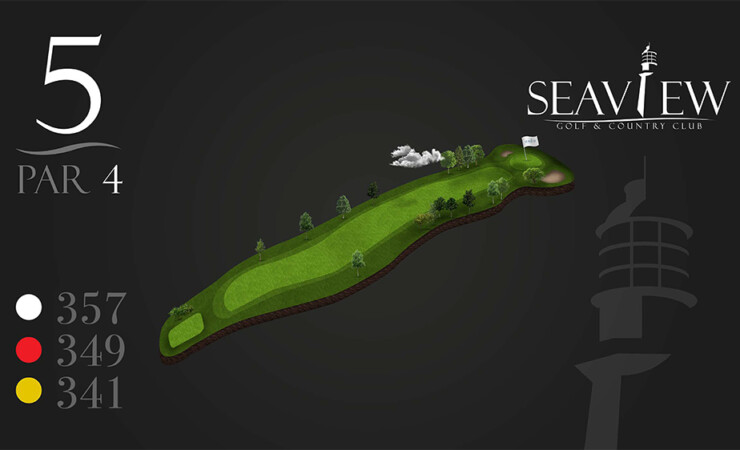
A Driver or 3 Wood off the tee sets you up nicely for your second shot. With a narrow fairway, the 5th tests all golfer's ability to keep their tee shot straight. Approaching this green can be tricky, as bunkers are plotted to the left and right. Yardage: 359 Handicap: 3 Yardage: 343 Handicap: 3 Yardage: 343 Handicap: 3 Download…
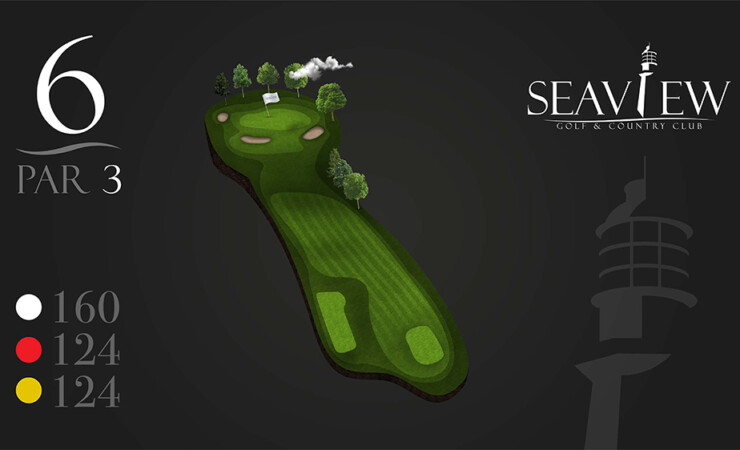
The first of only four Par 3's, you'll need a good tee shot into a highly elevated green. Aiming too right or too left will put you in the woods and the three greenside bunkers make this hole one of Seaview's toughest. Yardage: 160 Handicap: 11 Yardage: 124 Handicap: 11 Yardage: 124 Handicap: 11 Download Score Card
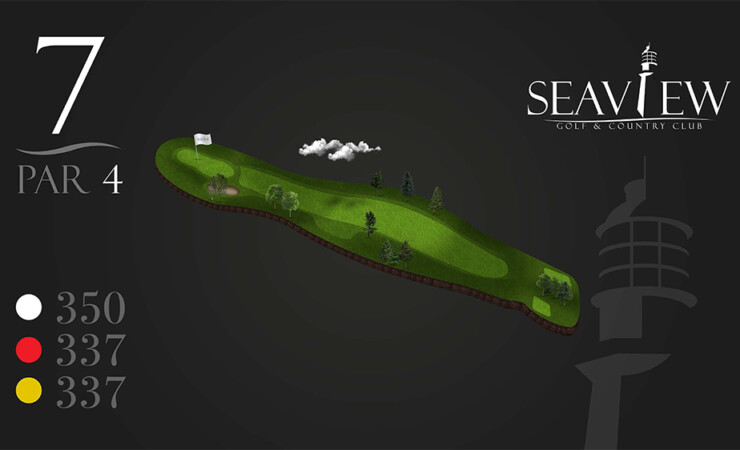
One of the most challenging Par 4's on the course. An accurate tee shot is required to take the woods out of play. Your second shot will be into a large green surrounded by woods and a greenside bunker. Yardage: 350 Handicap: 5 Yardage: 337 Handicap: 5 Yardage: 337 Handicap: 5 Download Score Card
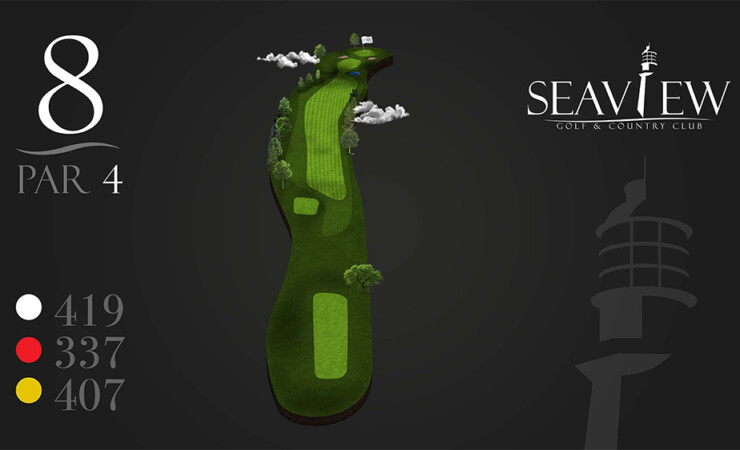
Ranked as the most difficult hole at Seaview Golf &Country Club, this long Par 4 has an elevated tee box that gives the players a chance to hit a great drive down the fairway. However, with woods on both the left and right of the fairway, your tee shot demands accuracy. Your second shot is into an elevated green that…

Woods surround this hole with a bunker to the right of the green as well as back left. This is a short Par 3 that insists on an accurate tee shot to stay out of trouble. Yardage: 158 Handicap: 13 Yardage: 144 Handicap: 13 Yardage: 144 Handicap: 13 Download Score Card
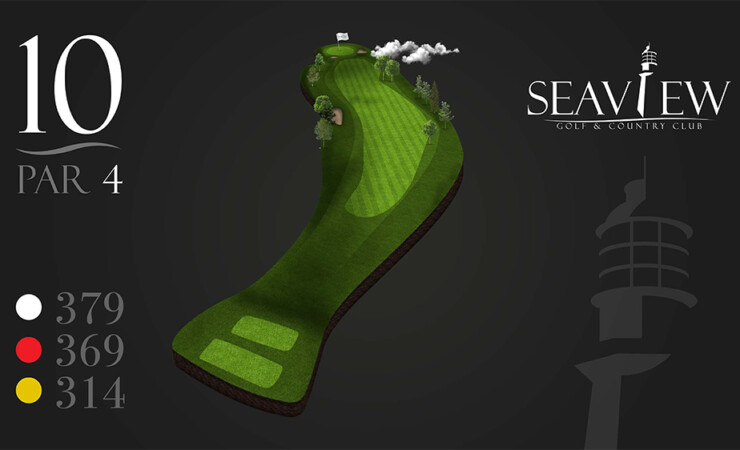
The back nine starts with a tricky uphill dogleg left. You can dig deep and cut the corner, leaving you with a short iron for your second shot, or you can play it up the right hand side of the fairway and flirt with the treeline. Cutting the corner will bring the woods and bunker into play and going too…
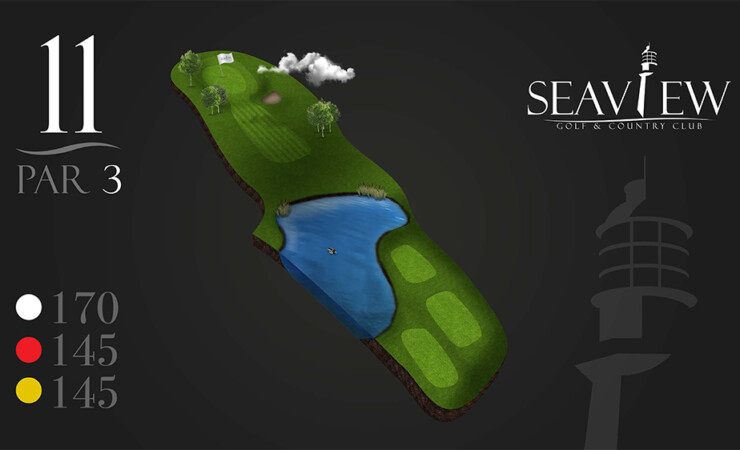
Another uphill Par 3, but with water directly in front of the Tee Box. This elevated green has a bunker positioned to the right and calls for an expertly placed shot in order to consider a birdie or par. Yardage: 170 Handicap: 14 Yardage: 145 Handicap: 14 Yardage: 145 Handicap: 14 Download Score Card
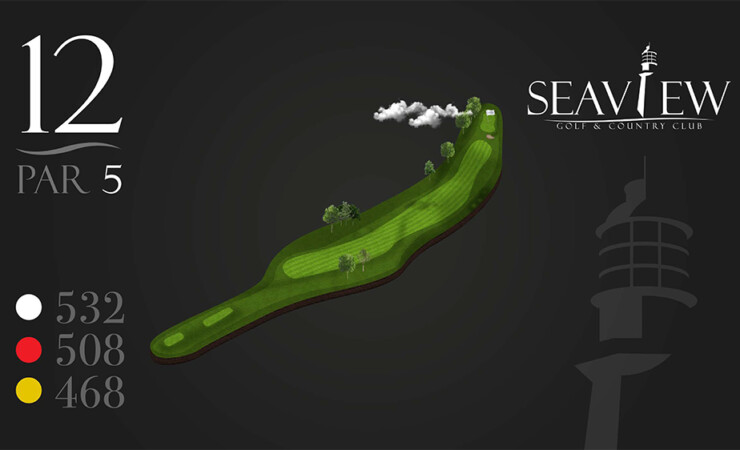
The second Par 5 is a long dogleg left with woods surrounding the fairway on both sides. Long hitters may get to the green in two, but three solid shots will set you up perfectly for a low score. Be careful, a bunker is positioned on the front of the green to capture short approach shots. Yardage: 532 Handicap: 12…
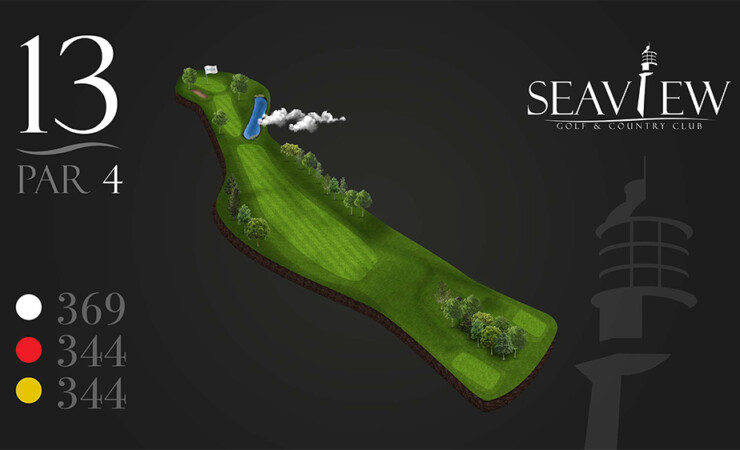
Depending on the tee location, this hole can play as a tough dogleg Par 4. Long hitters must beware of the water hazard on the right. Your approach shot is onto an elevated green that is deceiving challenging. Yardage: 369 Handicap: 2 Yardage: 344 Handicap: 2 Yardage: 344 Handicap: 2 Download Score Card
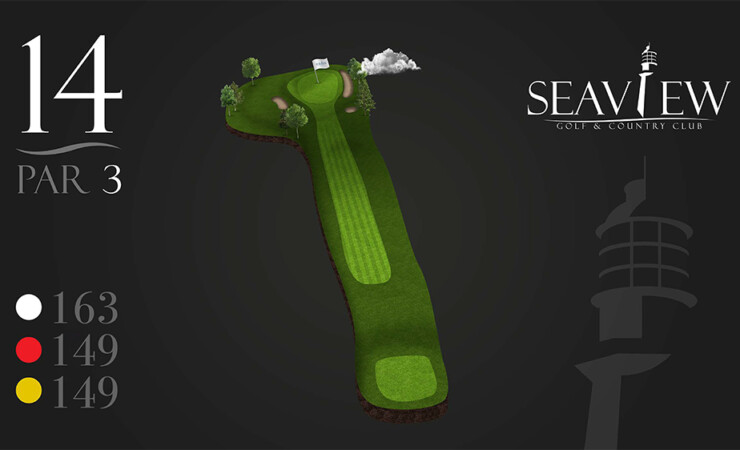
This is the final Par 3 at Seaview Golf & Country Club, and it offers gorgeous views of the water and surrounding areas. A downhill tee shot with woods to the left and right, and bunkers perfectly plotted around the green make this Par 3 as tricky as it is beautiful. Yardage: 163 Handicap: 8 Yardage: 149 Handicap: 8 Yardage:…
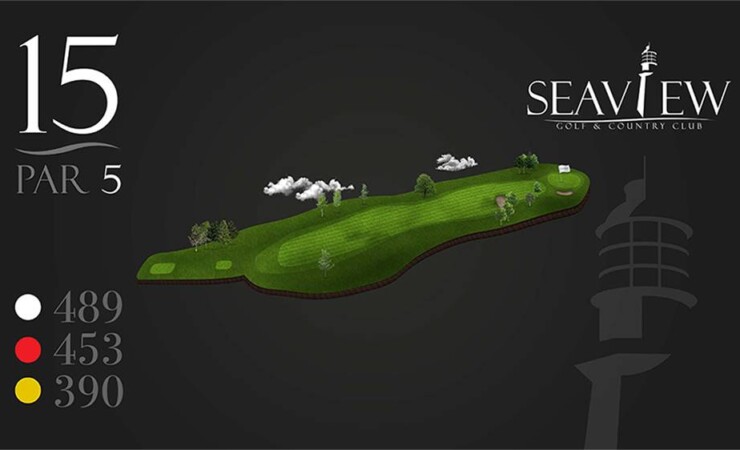
Don't let the easy ranking of this hole fool you. This Par 5 slopes to the right, making it easy to put any of your shots Out of Bounds. Long hitters can get to the green in two, but most players will have to hit three quality shots in order to set up a birdie putt on one of the…
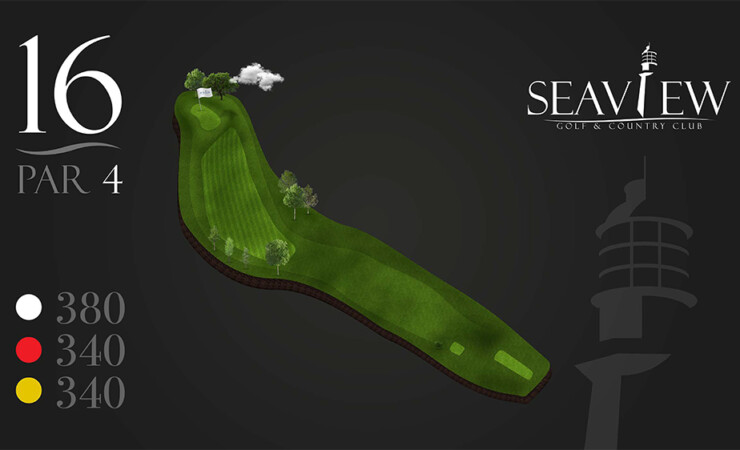
A Par 4, dog leg right with an elevated green makes this hole one of the biggest challenges at Seaview Golf & Country Club. Too far right and you're in the woods, unless you try and clear your shot over the trees to give yourself a short second shot. The proper play is to aim your tee shot at the…
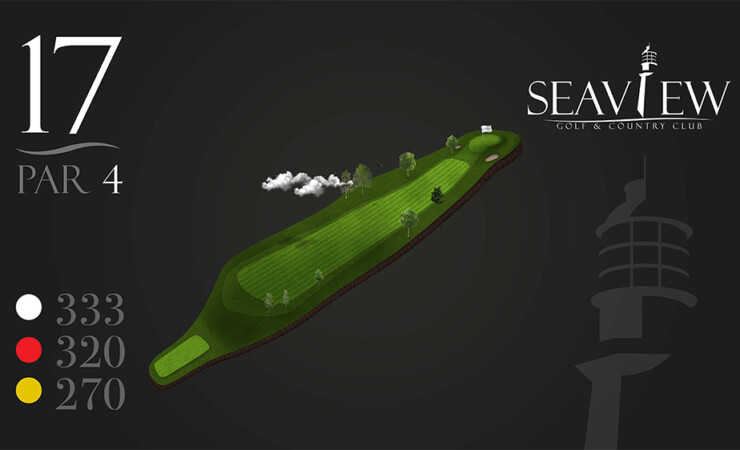
An accurate tee shot to an uphill sloping fairway will leave you with both a short iron into the green and a beautiful view of the water and surrounding countryside. The green has a bunker to the right and it slopes left, so an accurate shot from here is pivotal. Yardage: 329 Handicap: 16 Yardage: 318 Handicap: 16 Yardage: 318…
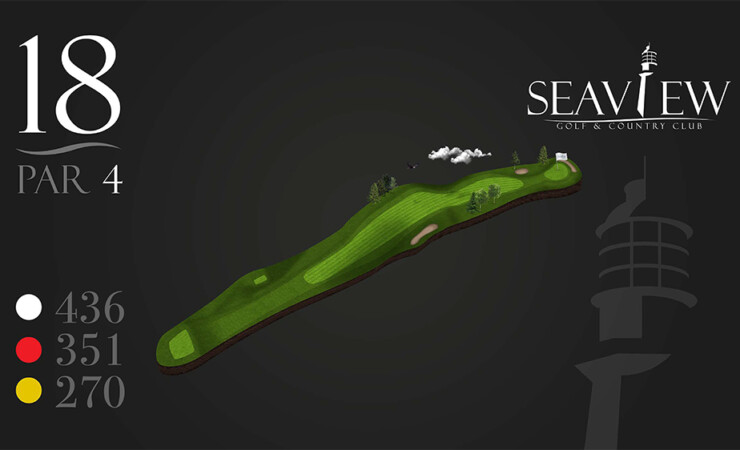
Seaview's Signature hole offers a beautiful view from an elevated tee box. An accurate tee shot is required to give yourself a chance at a birdie or par. The green has a bunker along the back, which can give the players trouble if they hit their approach shot long. Yardage: 436 Handicap: 6 Yardage: 390 Handicap: 6 Yardage: 390 Handicap:…